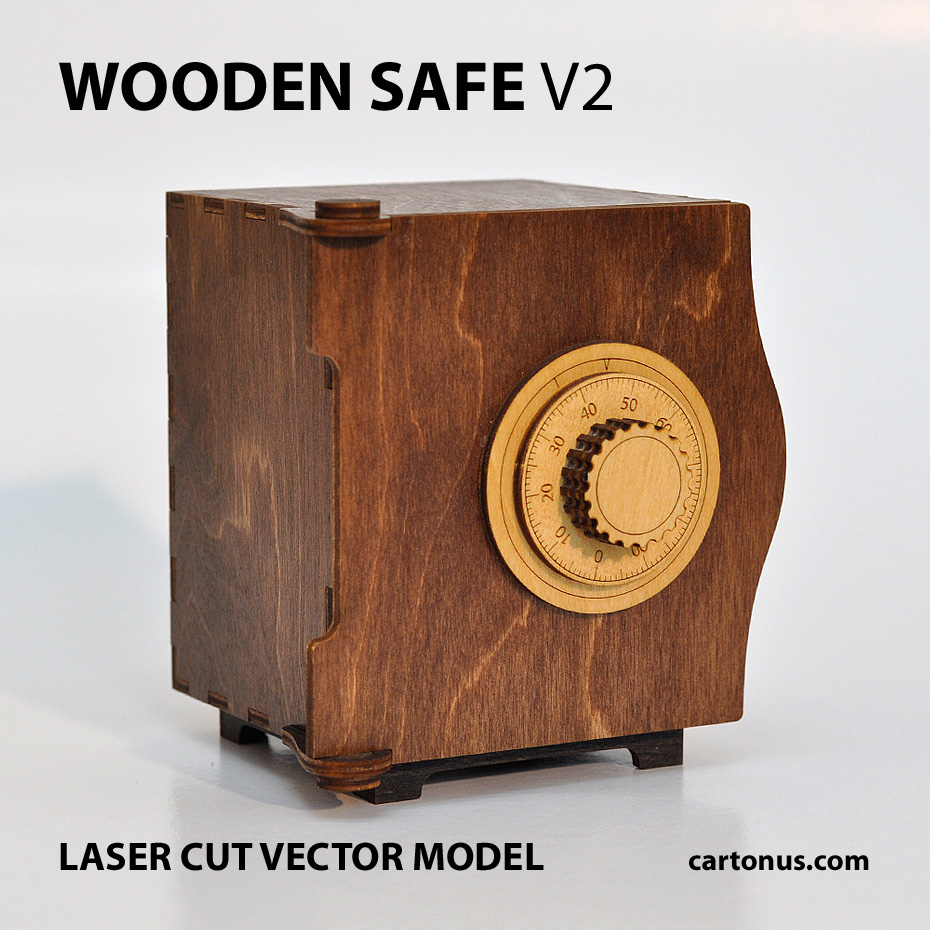
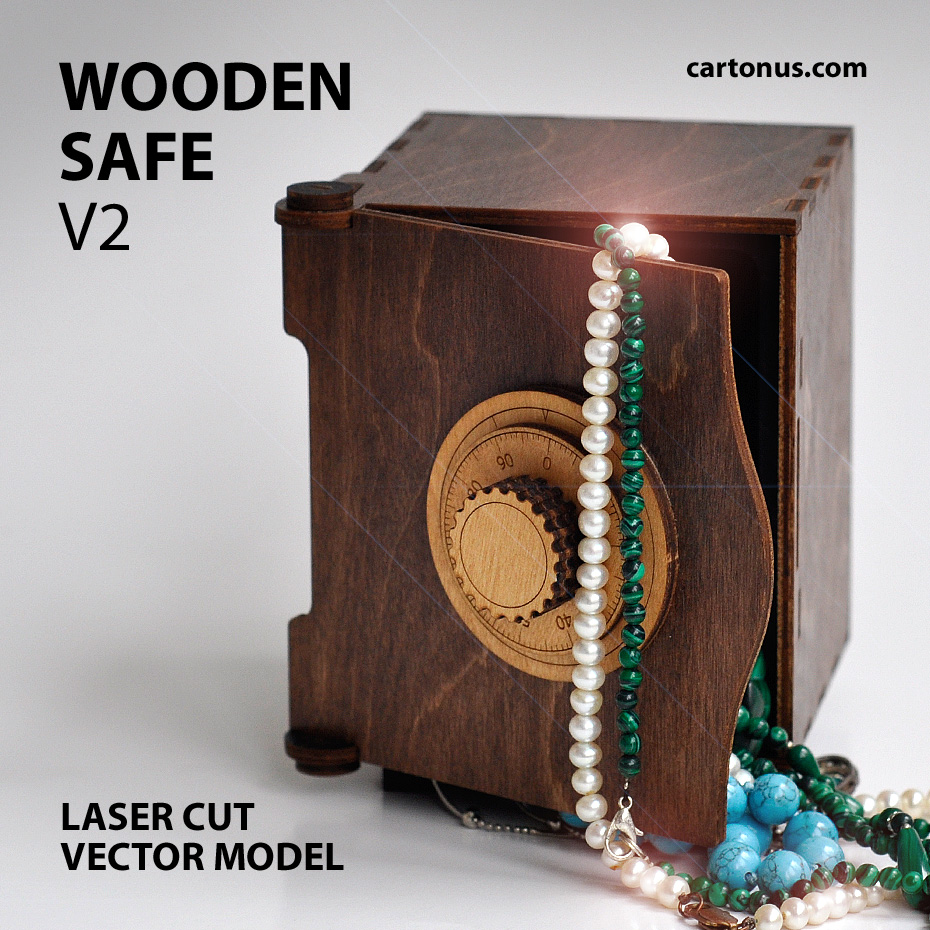
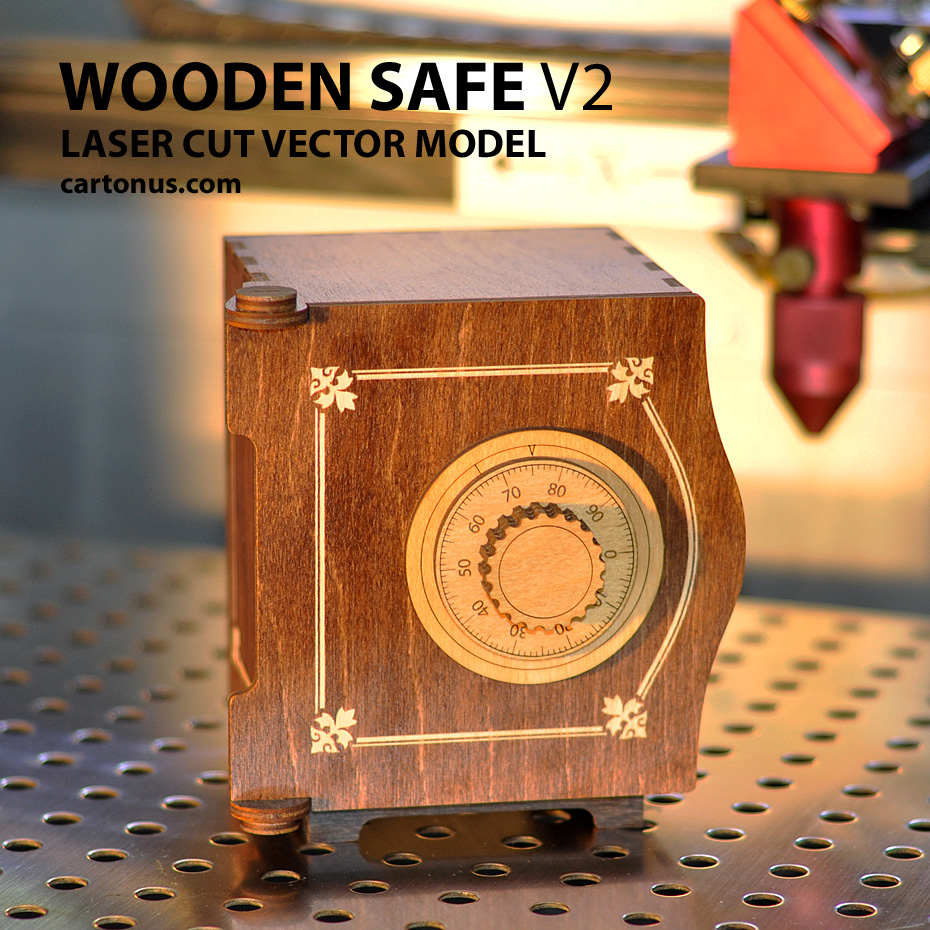
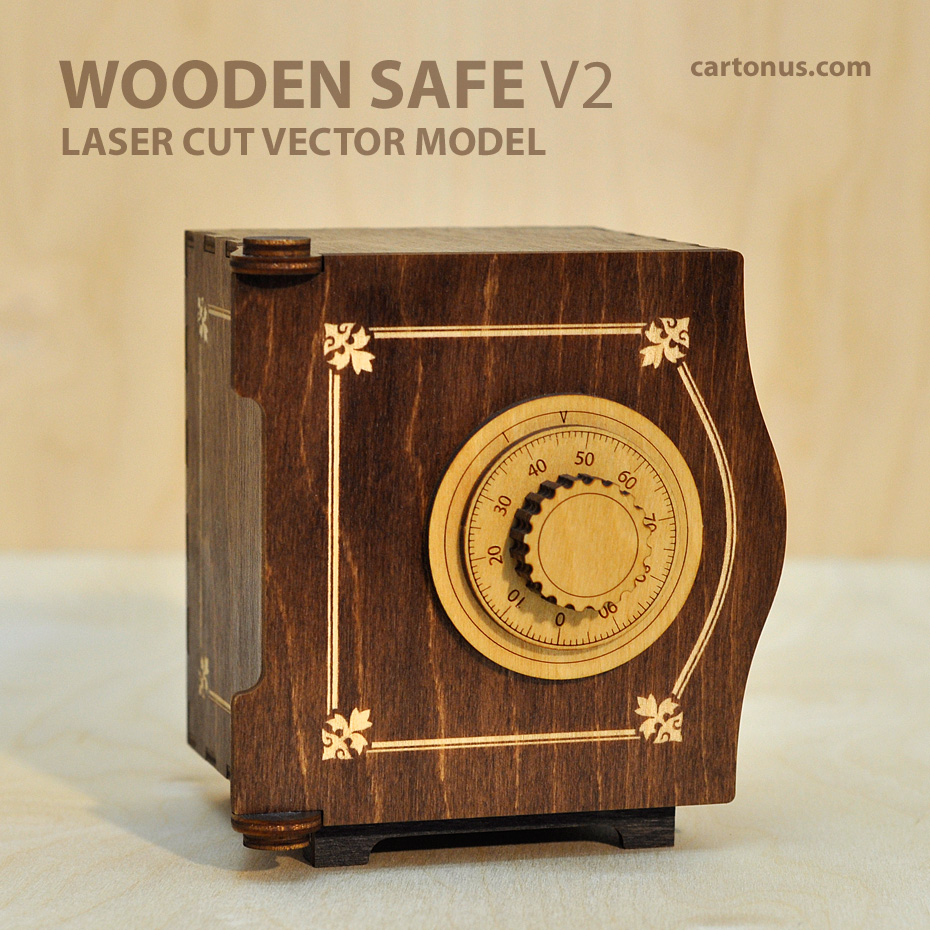
Wooden SAFE. Version 2.1
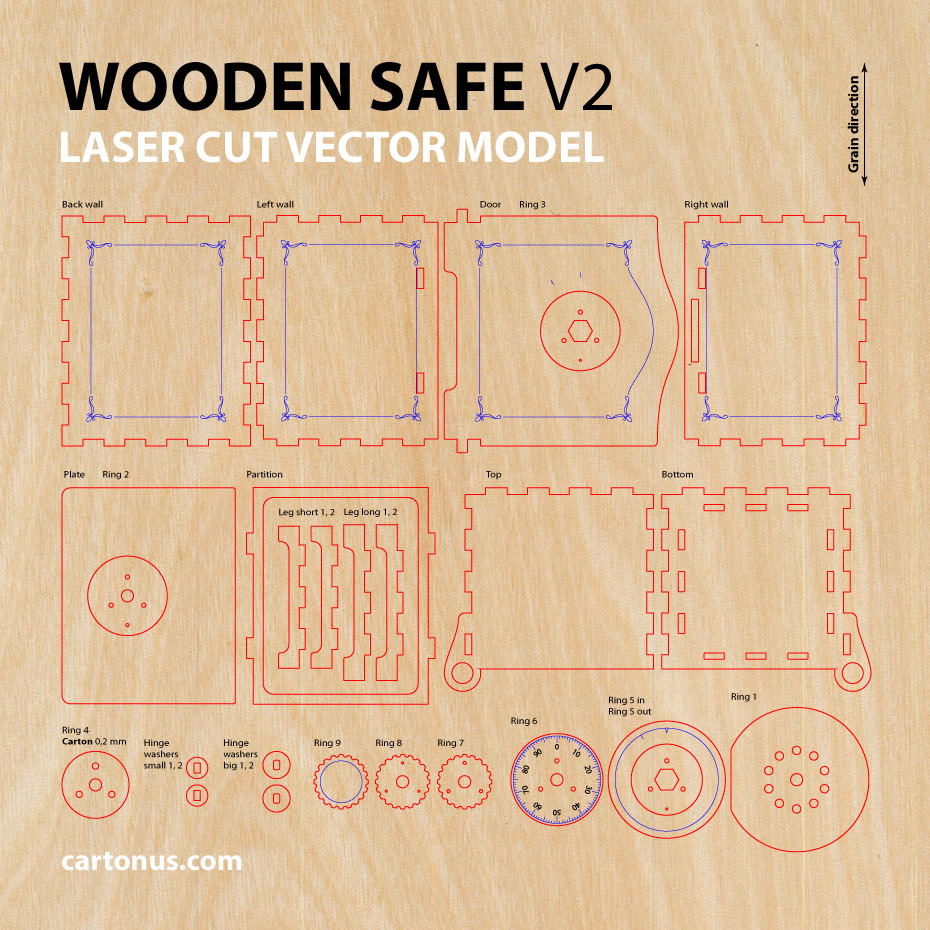
Vector model / project plan for laser cutting.
Ready for laser cut and laser engraving.
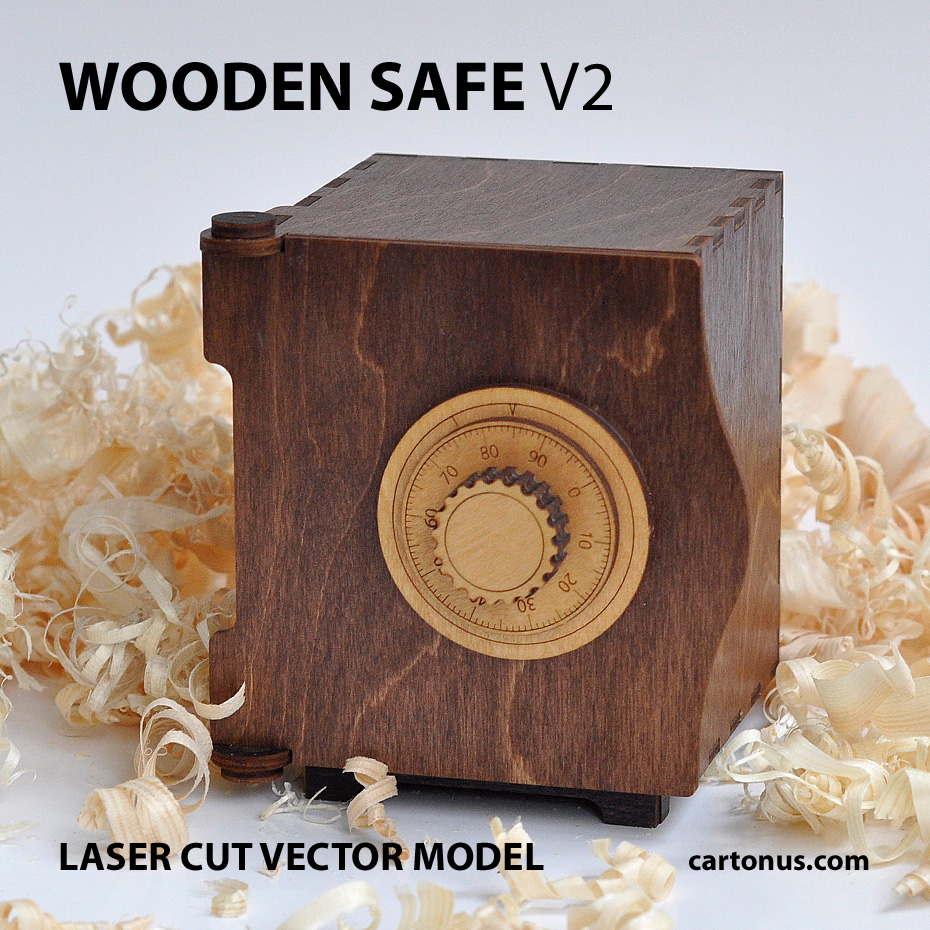
Gift #1 for friends.
A good business idea.
Unusual, interesting and useful!
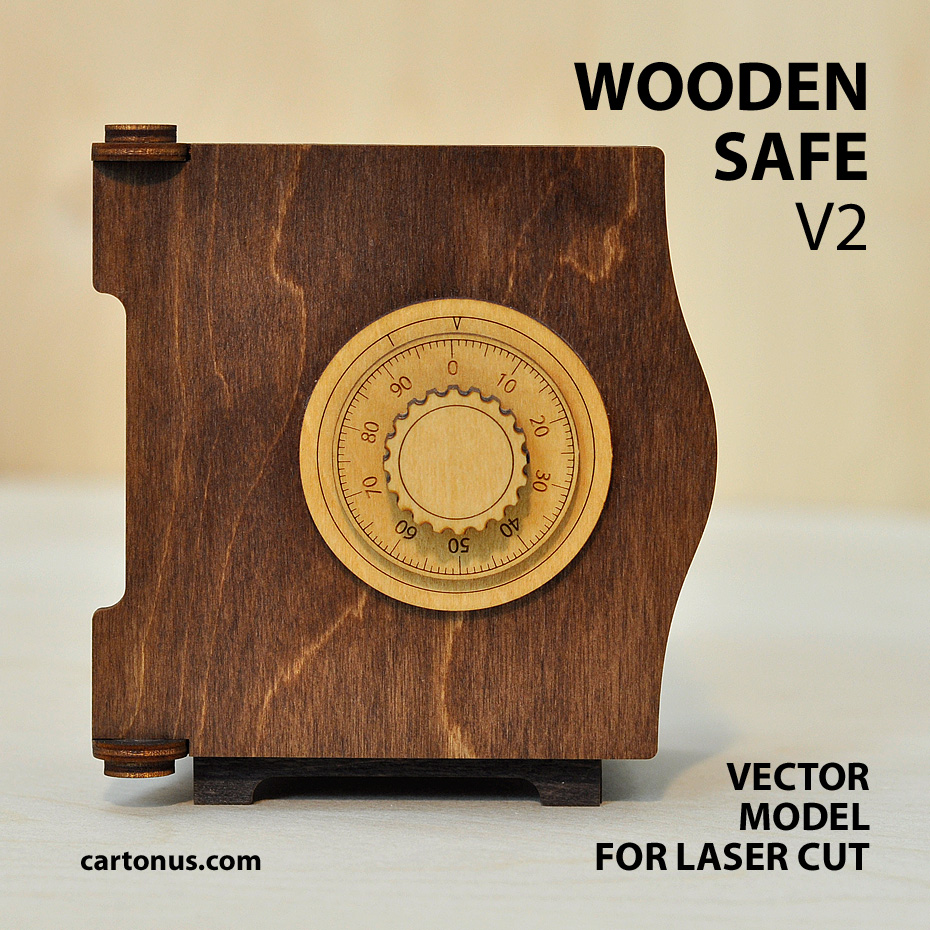
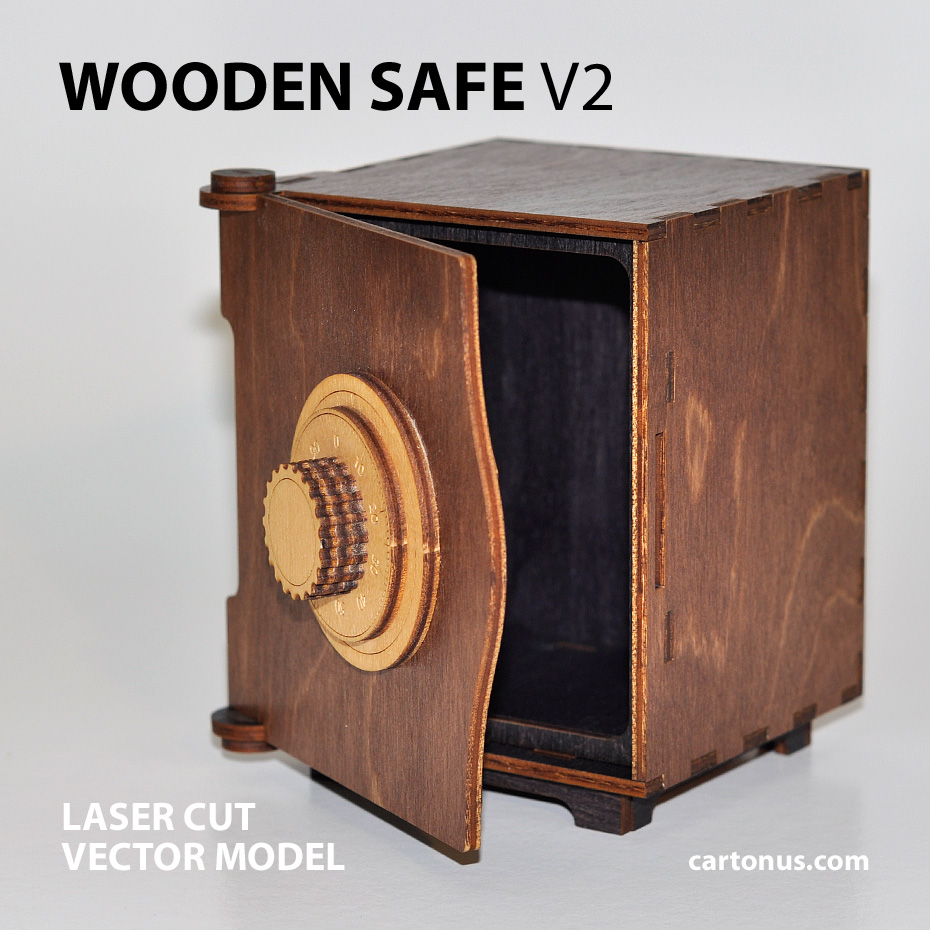
The second version of WOODEN SAFE has:
– more strong body,
– reinforced hinges,
– easy assembly,
– adjustable lock code.
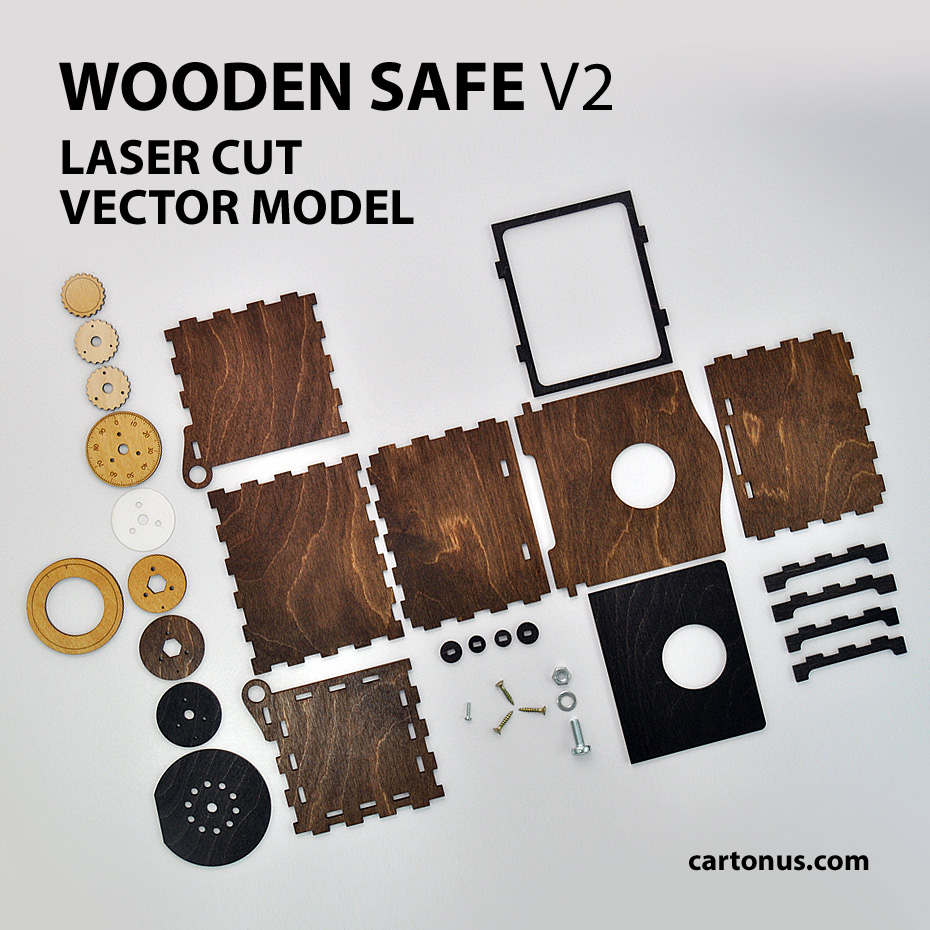
Create of plywood 3.2 mm (1/8 inch).
Dimension internal: 84x84x104 mm (3.3 x 3.3 x 4.1 inch)
Dimension external: 112x104x120 mm (4.4 x 4.1 x 4.7 inch)
Digital product includes AI, EPS, PDF, CDR files.

Assembly instructions
Hardware
1. Wood screws. Phillips flat head. Flat heads are countersunk (cone shaped under the head) with a flat top. 3×20 mm – 3 pieces.
2. Small wood screw. Phillips round head. Round heads are domed and look like half of a sphere. 1×6 – 1,5×10 mm – 1 piece.
3. Hex nut. A standard six sided nut. M6 – 1 piece.
4. Machine screw. Phillips pan head. M6x16 – 1piece.
5. Flat washer or fender washers. M6 – 1 piece.
6. Wooden glue.
Instructions
1. Glue Plate with Door from inside. Align the holes
2. Mill bevel on Ring 2 for Screw heads
3. Join Ring 2 with Ring 3 by Screws (3x20mm)
4. Join Rings 2-3 with Ring 4in
5. Put Ring 4out on Rings 2-3-4in.
Insert Hex-nut M6 into hexagon hole
6. Put carton Ring 5 on Rings 2-3-4in.
Join digital Ring 6 with Rings 2-3-4-5
7. Join Ring 7 with Rings 2-3-4-5-6.
Join Ring 8 with Rings 2-3-4-5-6-7
8. Glue Ring 9 to Ring 8
9. Glue Lock to Door.
Label of Ring 4out must be oriented upward
10. Press the Lock on the Door, let glue dry out
11. Tighten small Screw with round head into Lock
12. Set Ring 1
13. Insert Left Wall into Base
14. Insert Partition into Left Wall
15. Set Right Wall
16. Set the Door
17. Set the Top
18. Set small hinge Washers 1 and 2
19. Set big hinge Washers 1 and 2
20. Smear glue places of contact Partition and Walls
21. Set Back Wall
22. Set long Legs 1 and 2
23. Set short Legs 1 and 2
24. Enjoy!


2 Responses
Muito bom. Mas não consigo comprar.
It’s working now