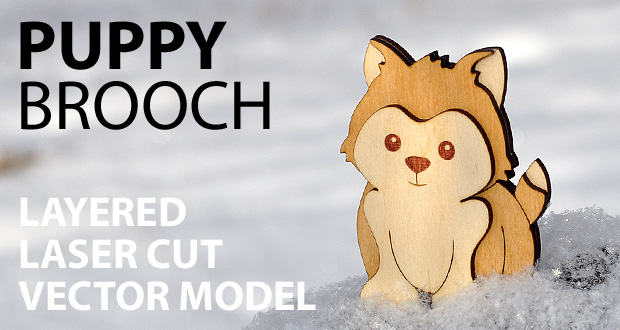
Instruction. How-to make wooden badge with safety pin
Step 1: Cut and engrave
Cut and engrave badge using laser mashine.
Material: Birch plywood.
Red line – cut. Black line – engrave.
Information for inversion engraving
Cover a dark stain on birch plywood, then varnish, dry, grind.
Or, you can just paint wooden blank.
Objective: Remove the top thin layer of paint from wooden blank and not burn wood.
Parameters for 40 watt laser machine:
• Speed – 300 mm / sec
• Maximum power – 13%
• Interval – 0.1 mm
You may need to experiment with parameters.
After a quick and low-power engraving almost no soot. Soot from the cutted edges of the product can be easily removed with a damp sponge soaked in normal water.
Effect of inversion engraving is stunning.
In this way, we are doing many projects.
Step 2: Safety pin
Insert safety pin into holes of base.
Step 3: Glue
Apply glue to the base.
Step 4: Press
Join badge on the base.
Press down.
Allow the glue to dry.
Step 5: Enjoy!
It’s ready.
Enjoy!


No responses yet